1. Introduction
Thank you for purchasing Baxel. This document includes the necessary information about using it.
Please do share any thoughts or comments with us. We'd like to hear from you!
If you need help, please do not hesitate to ask us. We'll be ready to reply you on our ThemeForest
comments page.
Follow us on
ThemeForest,
Facebook or
Dribbble to keep in touch!
2. Installation
Extract the zipped package that you downloaded from ThemeForest. You'll find a file named
"baxel.zip" in
"Theme" folder. Now there are 2 ways to start using it:
1) Extract the
"baxel.zip" file and upload the extracted folder to the
".../wp-content/themes/" folder on your server.
2) On WordPress admin panel, go to
"Appearance > Themes" and click the
"Add New" button at the top of the page. Then click
"Upload Theme" button. Pick
"baxel.zip" file and click
"Install Now" button.
After uploading the theme, you need to activate it. Go to
"Appearence > Themes" page and click Baxel's
"Activate" button. And you're done.
If you face any problem, please visit ThemeForest Knowledgebase to learn how to install a WordPress theme.
3. FAQ
If you can't find your question below or in entire documentation, please don't hesitate to
ask for help. We'd be glad to help you.
How can I upload my own logo?
Go to
"Appearance > Customize > 4. Header > 4.2. Logo Settings" and select your logo from the media library.
Back to Top
How can I change my header view?
Go to
"Appearance > Customize > 4. Header > 4.1. Header Style" and choose a style. The default style is "8".
 Back to Top
How can I change the colors?
Go to
"Appearance > Customize > 3. Colors" and set your colors.
Back to Top
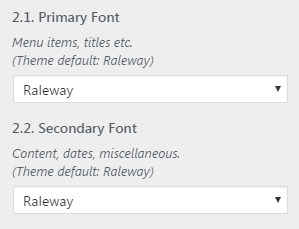
How can I change the fonts?
Go to
"Appearance > Customize > 2. Font Settings" and pick your fonts.
 Back to Top
Where can I find the layout options?
Go to
"Appearance > Customize > 6. Layout Options > 6.1. Blog Homepage Layout".
4. Menu
Baxel has 1 location for a menu:
Primary Menu.
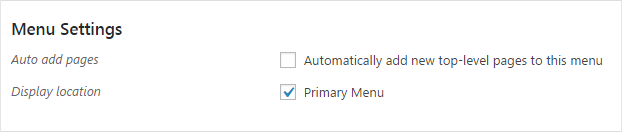
For menu setup, go to
"Appearance > Menus" page. Choose your items you want to show in menu from the left side. Don't forget to check
"Primary Menu" box to see your menu in correct place. And finally click
"Save Menu" button to get it done.
 To read more about WordPress Menus: WordPress Menu User Guide
5. Blog Homepage
Baxel comes with "1 Column + Sidebar" layout option. If you don't see the sidebar, ensure that you have active widgets on "Appearance > Widgets" page. If not, you can add widgets by drag & drop function to your sidebar.
You can choose your layout on your customizer. Please navigate to "Appearance > Customize > 6. Layout Options" and see what's available over there.
6. Theme Customizer
Baxel has a very well organized customizer which almost is a user guide itself. It uses the native customizer of WordPress. So navigate to
"Appearance > Customize" and start to personalize your theme!
Here is a full list of setting sections:
- Post & Page Settings
- Featured Images
- Thumbnail Images
- Standard Posts
- Gallery Posts
- Video Posts
- Related Posts
- Hide Posts on Blog Homepage
- Show/Hide Elements
- Font Settings
- Primary Font
- Secondary Font
- Font Sizes
- Colors
- General Colors
- Header Colors
- Slider Colors
- Post Colors
- Widget Colors
- Footer Colors
- Header
- Header Style
- Logo Settings
- Menu Settings
- Sticky Header
- Slider Settings
- Slide Images
- Slider Shortcode
- Blog Posts in Slider
- Other Options
- Layout Options
- Blog Homepage Layout
- Archive Layout
- Post Heights
- Sidebars
- Footer
- Footer Widgets
- Instagram Slider Widget
- Social Accounts
- Google Maps
- Translation
- Site Language
- General
- Archive Titles
- Post Comments
7. Layout Options
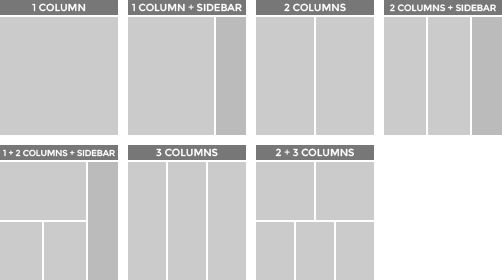
Baxel has 7 layout options:
- 1 Column
- 1 Column + Sidebar
- 2 Columns
- 2 Columns + Sidebar
- (1 + 2) Columns + Sidebar
- 3 Colums
- (2 + 3) Colums
You can set archive pages layout separately. By the way, you can also decide if the post pages or single pages will have a sidebar or not.
Ah, you want to hide sidebar for gallery posts only? It's just as far as one little tiny click too.
8. Post Formats
Baxel supports 4 post formats: Standard, Gallery, Video and Aside.
On "Posts > Add New" page, choose your post format from the right side of the panel and then place your content naturally.
By the way, no worries about formatting the content. Baxel is compatible with WordPress native content window and will do everything automatically. For example, if you want to add a gallery, just do it by "Add Media > Create Gallery" in classic way. Then when you have a look at your site, you'll see that the gallery you just added is shaped very well in a slider!*
*Ensure "Instead of Featured Image" or "Both" option is selected under "1.4. Gallery Posts > Gallery Position on Post Page" on your customizer.
9. Widgets
Baxel has 12 custom widgets and 6 widget areas:
Sidebar - Default,
Sidebar - Post,
Sidebar - Page,
Sidebar - Static Front Page,
Sidebar - Archive, and
Footer Widgets. You can place any of your widgets in anywhere you want.
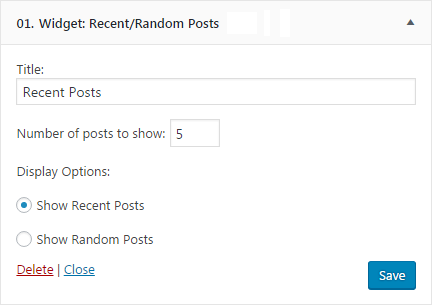
01. Baxel Widget: Recent/Random Posts
Display the most recent or random posts.
 Back to Top
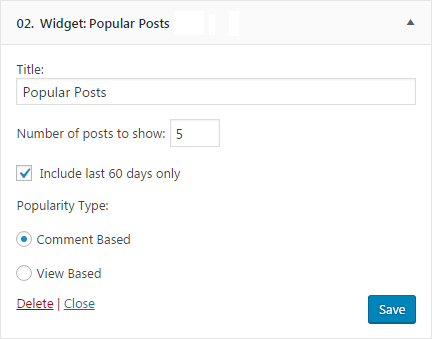
02. Baxel Widget: Popular Posts
Display the most popular posts.
 Back to Top
03. Baxel Widget: Category/Tag Posts
Display the posts belong to a specific category or tag.
 Back to Top
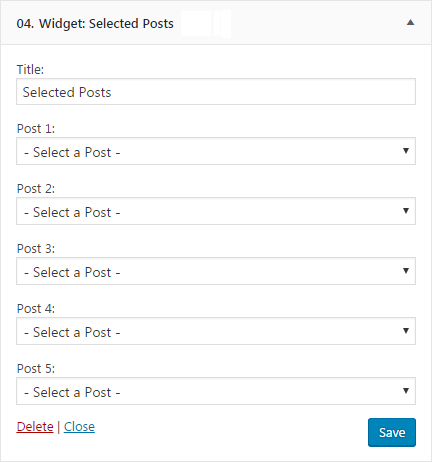
04. Baxel Widget: Selected Posts
Display the posts you've selected.
 Back to Top
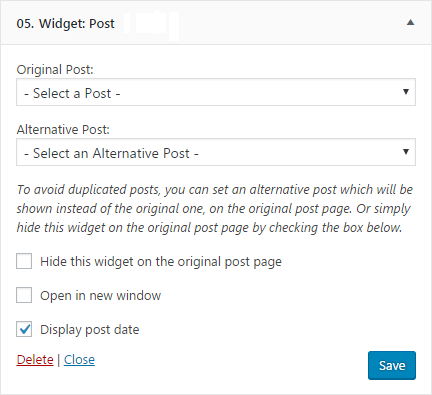
05. Baxel Widget: Post
Display a single post.
 Back to Top
06. Baxel Widget: Image
Display an image with an optional title.
 Back to Top
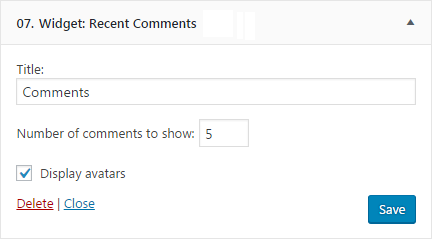
07. Baxel Widget: Recent Comments
Display the latest comments.
 Back to Top
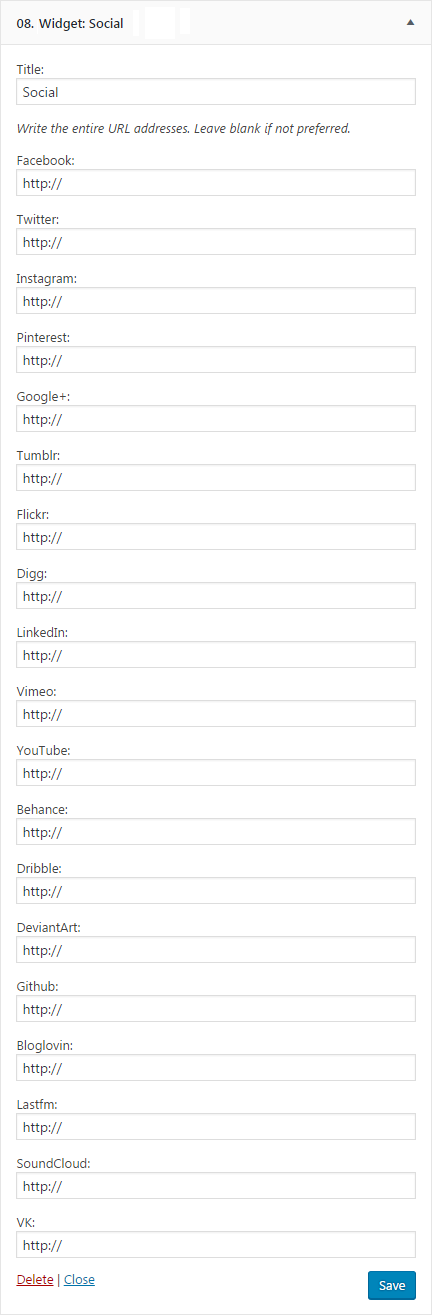
08. Baxel Widget: Social
Show your social account icons.
 Back to Top
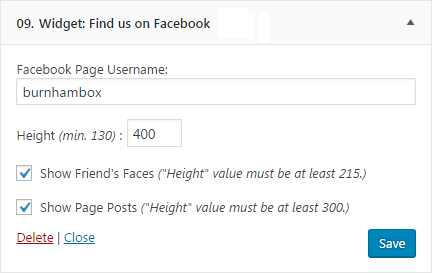
09. Baxel Widget: Find us on Facebook
Show your Facebook page's lovers.
 Back to Top
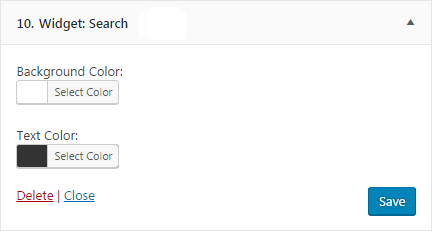
10. Baxel Widget: Search
A search form for your site.
 Back to Top
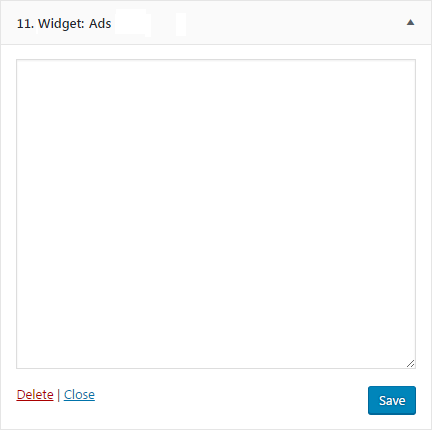
11. Baxel Widget: Ads
You can place your Ad code into this widget.
 Back to Top
12. Baxel Widget: Empty Space
An extra empty space between your widgets.
 Back to Top
10. Slider
Baxel has its own slider plugin. Follow the steps below to start using it!
Firstly, you need to install the Baxel Slider plugin. You'll already realize the
"This theme recommends the following plugin: Baxel Slider." notice when you activate Baxel theme.
- Click "Begin installing plugin".
- Click "Install" under the "Baxel Slider" title.
The "Install" button will appear when you rollover the title.
- When you see the "Return to Required Plugins Installer" link appeared, it means you're done! But don't forget to activate the plugin.
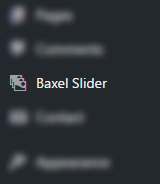 You'll realize that a button named "Baxel Slider" is placed on your admin panel menu now. If you can't see it, just click to "Dashboard" or somewhere else to refresh the view.
After installing & activating the slider plugin, just navigate to
"Appearance > Customize > 5. Slider Settings > 5.3. Blog Posts in Slider" and check
"Show Blog Posts in Slider" to see it.
OR, you can create your own slides.
Now, let's create our first slide:
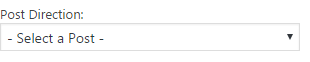
- Click "Baxel Slider > Add New Slide".
- If you wish, you can directly insert a post into your slider by selecting it from the "Post Direction" drop down. After selecting it, you can override its properties (Title, Slide Image etc.) too.
- To create a brand new slide, just do not select a post and fill in the other fields (Title, URL etc.).
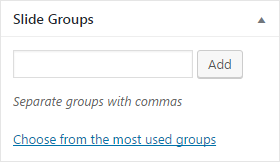
- Don't forget that you should use the same group name for the slides/posts you want to see in the same slider. (It's the same procedure with tagging a blog post.)
- Click "Publish" and your slide is ready!
You can repeat the steps above to create all the slides you want. Now it's time to place our slider to the site:
- Navigate to "Appearance > Customize > 5. Slider Settings".
- Place this code to the "5.2. Slider Shortcode" box: [baxelslider group="your_group"]
Don't forget to replace the your_group part with your own group name.
That's all!
11. Translation
Translation is extremely easy with Baxel. Just go to
"Appearance > Customize" on WordPress admin panel, find
"10. Translation" section and start to translate!

12. Sources & Copyrights
All the images/photographs used in our demo site and all the rights of them belong to their creators/owners.