4. FAQ
If you can't find your question below or in entire documentation, please don't hesitate to
ask for help. We'd be glad to help you.
Importing Demo Content
Follow the steps below to import the demo content:
a) Navigate to "Tools > Import".
b) Click "WordPress > Run Importer".
c) Click "Choose File" and point the xml file you've got.
d) Click "Upload file and import" and wait.
e) When the page refreshes, check "Download and import file attachments" and click "Submit". You're done when the process is finished.
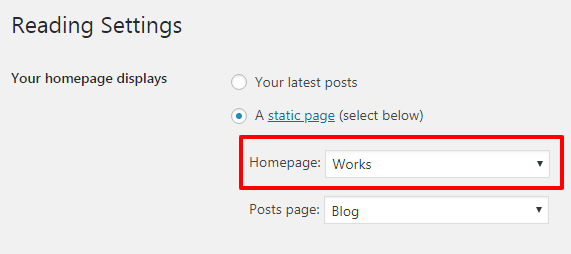
After importing the demo content, don't forget to set the "Works" page as your homepage from
"Settings > Reading" section
 Back to Top
Theme is missing the style.css stylesheet error
A common issue that can occur when installing a WordPress themes is
"The package could not be installed. The theme is missing the style.css stylesheet." error message being displayed when uploading or activating the theme.
This is because you're trying to upload the wrong file. While downloading your theme, you see the options below:
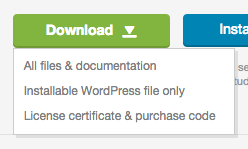
You can get the theme file that you must upload by clicking the "
Installable WordPress file only".
"
All files & documentation" option includes some other files like the help file that you're reading right now. If you download this package, you should upload
the .zip file inside it after you extract the package.
Back to Top
How to Update Your Theme
The most common way to update your theme is to download it from themeforest.net and re-install. Basically:
- Switch your theme to one of the default themes of WP.
- Remove the theme. Your data & settings will not be deleted but it's always suggested to do a back-up.
IMPORTANT NOTE: If you've done any changes in theme files (edited the codes manually), those changes will be lost when you removed the theme. Therefore, it's always recommended to use a child theme.
- Download the new version of your theme and install it like you're doing it for the first time.
- Activate your theme and you're done.
Back to Top
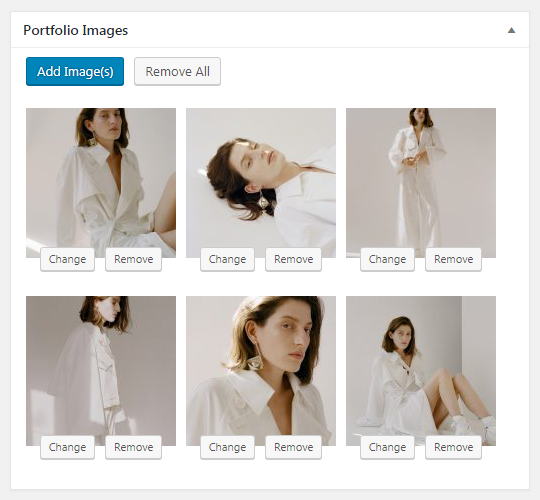
Adding Your Portfolio
Please see the
Portfolio Plugin section.
Back to Top
How can I upload my own logo?
Go to
"Appearance > Customize > Header > Logo Settings" and select your logo from the media library.
Back to Top
How can I change the colors?
Go to
"Appearance > Customize > Colors" and set your colors.
Back to Top
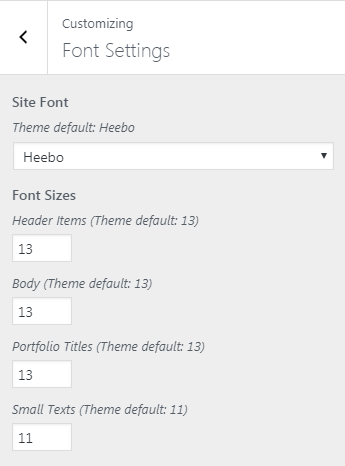
How can I change the site font?
Go to
"Appearance > Customize > Font Settings" and pick your font. You can also set the font sizes here.
 Back to Top
How can I change the portfolio thumbnail sizes?
Go to
"Appearance > Customize >Portfolio Settings" and set "Thumbnail Width" & "Thumbnail Height" fields as you wish.
Back to Top
How can I set the number of portfolio items per page?
Go to
"Appearance > Customize >Portfolio Settings" and see "Portfolio Items Per Page" section. You can also set a different number for category (archive) pages.
If you wish, you can set this number via the shortcode too. Just add the "count" parameter to the shortcode like that:
[kuistportfolio count=5]
Back to Top
How can I change the lightbox image size?
You have 3 options for lightbox image size: Large, Full and Custom Size. Go to
"Appearance > Customize >Portfolio Settings" and see "Lightbox Image Size" section.
Keep in mind that you'll see your images smaller than the browser height, even if your image size is larger.
Back to Top
Where can I find the blog homepage layout options?
Kuist has 2 blog homepage layout options:
2 columns and
3 columns. Go to
"Appearance > Customize > Blog & Page Settings" to set it as you wish.
Back to Top
How can I add a contact form to the "Contact Pane"?
Kuist supports the
Contact Form 7 plugin and firstly you must ensure that this plugin has been installed and activated.
Just go to "Contact > Add New", edit the pre-builded form if you need, and click "Save". Then, on "Contact > Contact Forms" screen, you'll see the added form and its shortcode like that:

Now copy that shortcode and paste it into the field on your customizer:
"Appearance > Customize > Contact Pane > Contact Form Shortcode". That's all.
The contact form code we used on our demo site is like that:
<label>[text* your-name placeholder "Your Name"]</label>
<label>[email* your-email placeholder "Your E-mail"]</label>
<label>[textarea your-message placeholder "Your Message"]</label>
<button class='wpcf7-form-control wpcf7-submit'>SEND</button>
Back to Top
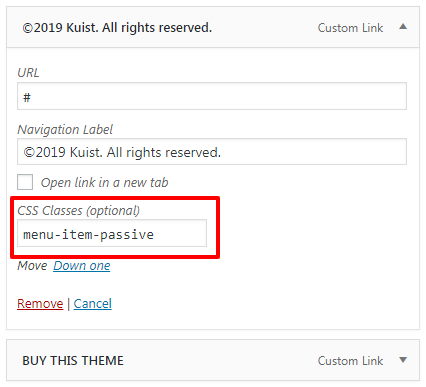
How can I add a copyright text to the footer?
Just add your text like you're adding a regular menu item. Then follow the steps below:
First, on "Appearance > Menus" screen, click the "Screen Options" button at the top right of the screen. Check the "CSS Classes" box over there.
After doing this, you'll see a field named "CSS Classes (optional)" in your menu items.
If you write
menu-item-passive into that field, the menu item will be passive and look like the copyright text on our demo site.
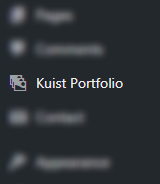 You'll realize that a button named "Kuist Portfolio" is placed on your admin panel menu now. If you can't see it, just click to "Dashboard" or somewhere else to refresh the view.